So I was bound and determined not to spend $50 on a plastic sandbox that is more likely to crack, especially in the Houston sun (I mean, what wouldn’t want to crack in the 115 degree sun of July).
Materials list:
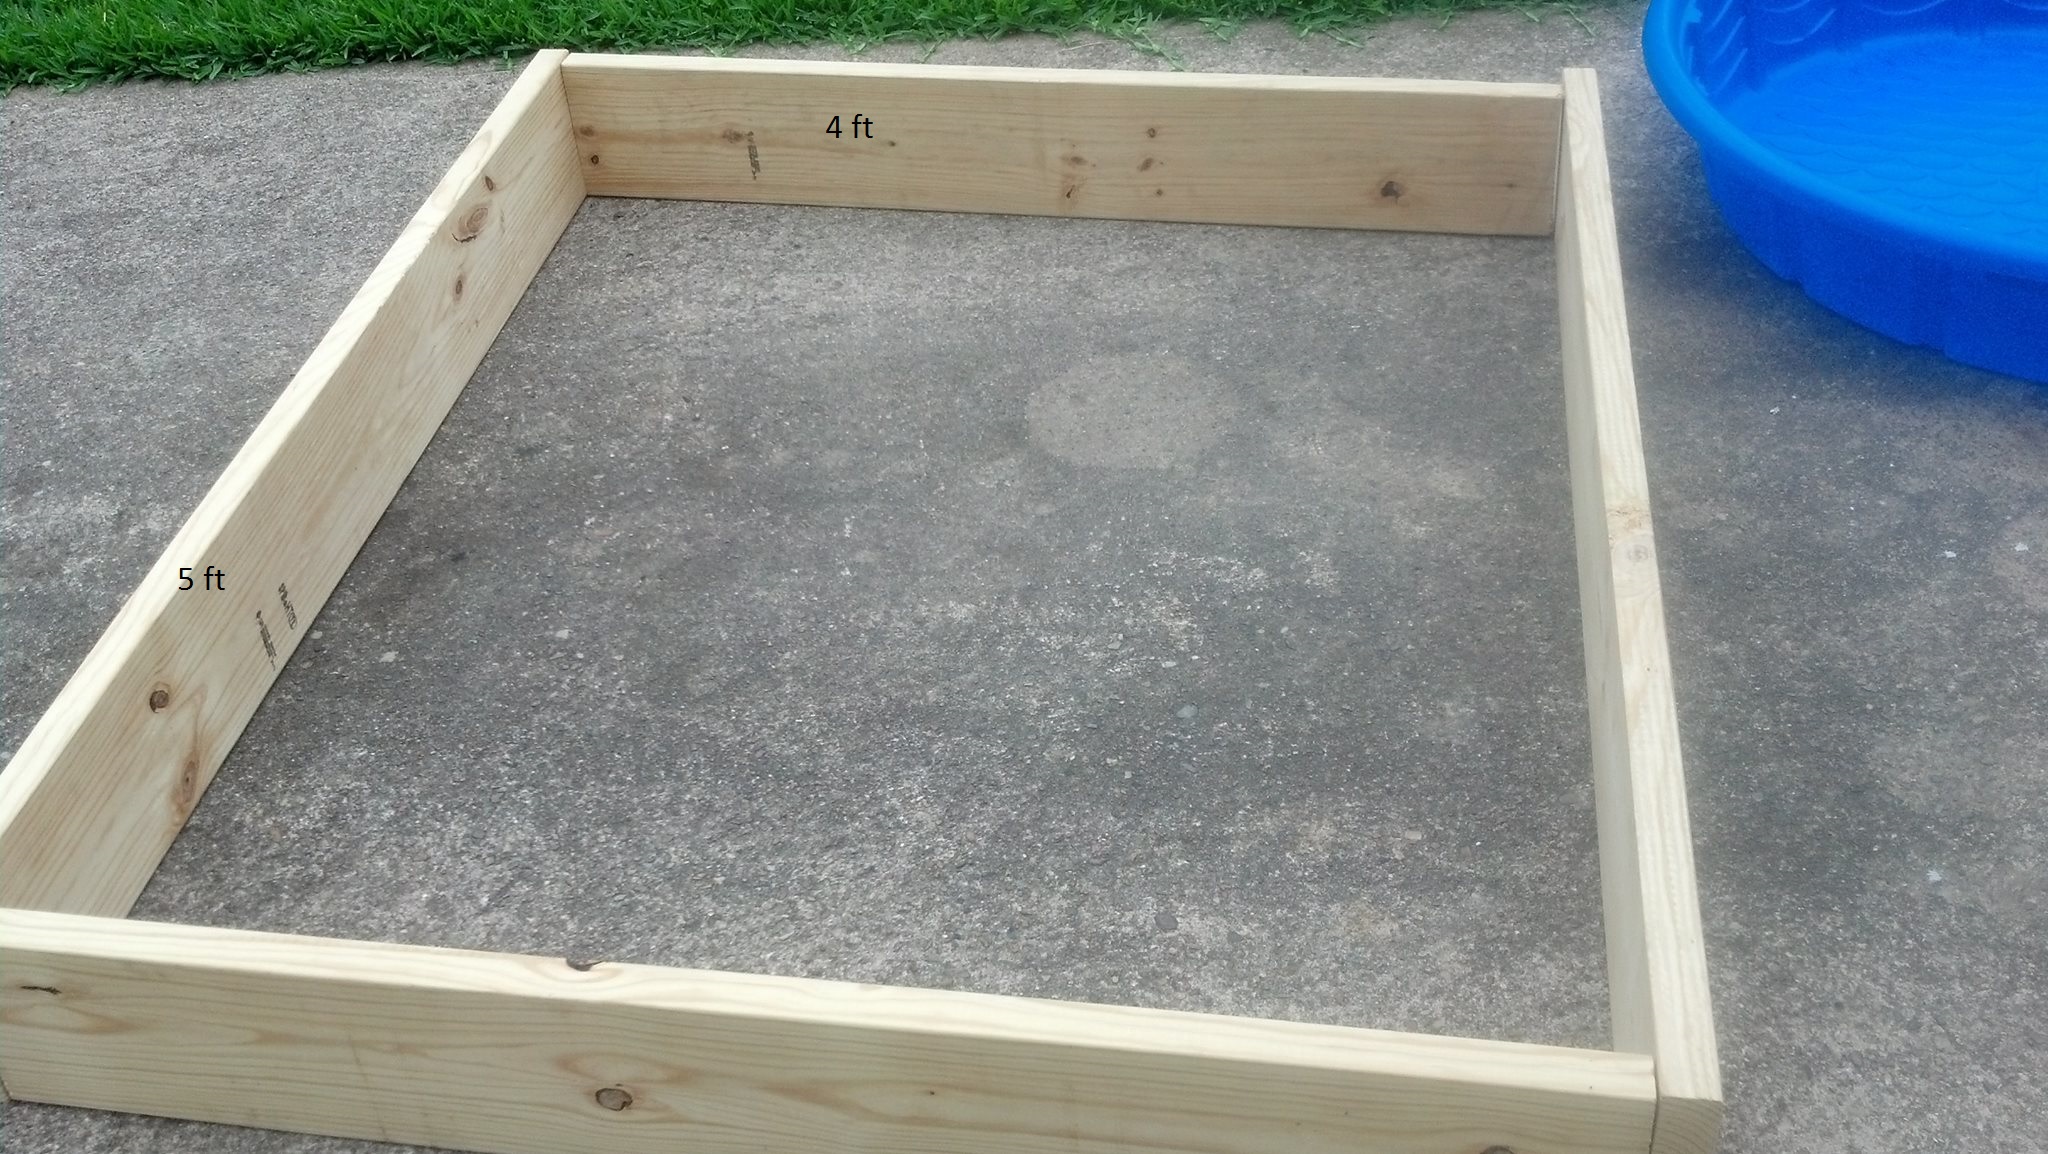
1 – 2 x 8 x 10 (cut into 2 – 5 ft pieces)
1 – 2 x 8 x 8 (cut into 2 -4 ft pieces)
3 in galvanized screws
electric drill
circular saw
tarp
landscape fabric
staples, small nails or upholstery pins
Directions:
Have the Lowe’s wood cutter (this is literally their title) cut your wood if you do not have a circular saw. Make sure the edges are all squared up (4 x 5 ft) and put 2-3 screws into each edge to secure the box together.
After you have it secured together, cut the fabric to cover then entire bottom – if it is thinner type of fabric double it up so that they kids don’t dig through it. I chose to use landscape fabric because my dad is a landscaper and sent me the “good stuff” and because it allows water to drain without letting the sand seep through (even fine beach sand). Secure with staples, nails or upholstery pins (I had upholstery pins on hand so I used those).

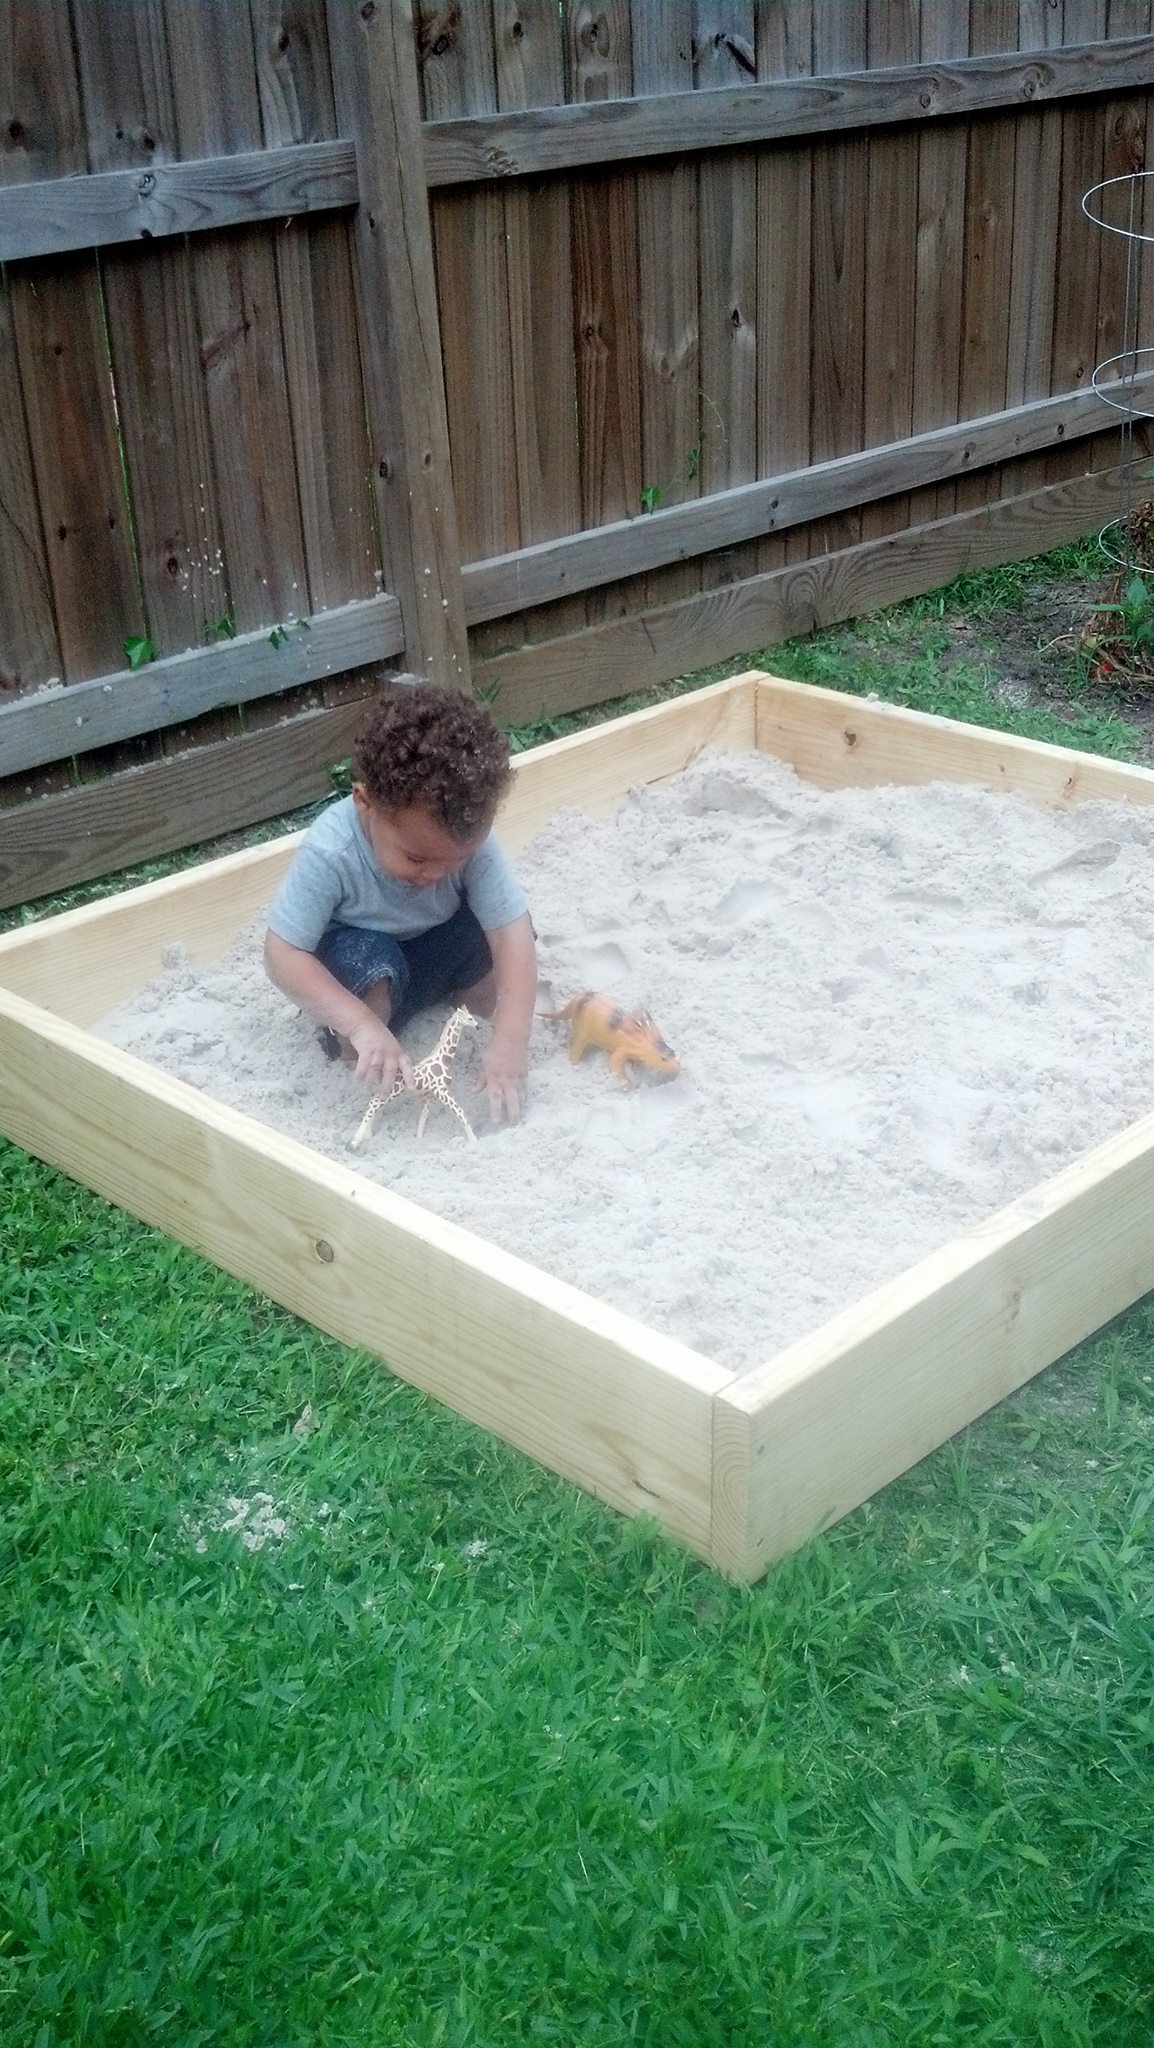
Flip it over and place where you want it. I moved mine to a dead area of the yard. Fill with sand. I put 300 lbs in and it was not quite enough – I purchased my sand from a local quarry because a) it is much better sand b) it is a lot cheaper c) I wanted beach sand not the gravel crap from Wal-Mart. Call you local dirt and rock quarries – someone probably has cheap sand (I spent $15 total on 300 lbs).
Let them play 🙂
To cover I currently am using a tarp but will eventually go get a piece of plywood cut and hinge it onto the side, but I wanted to make sure in the meantime it was protected from neighborhood cats and coons.
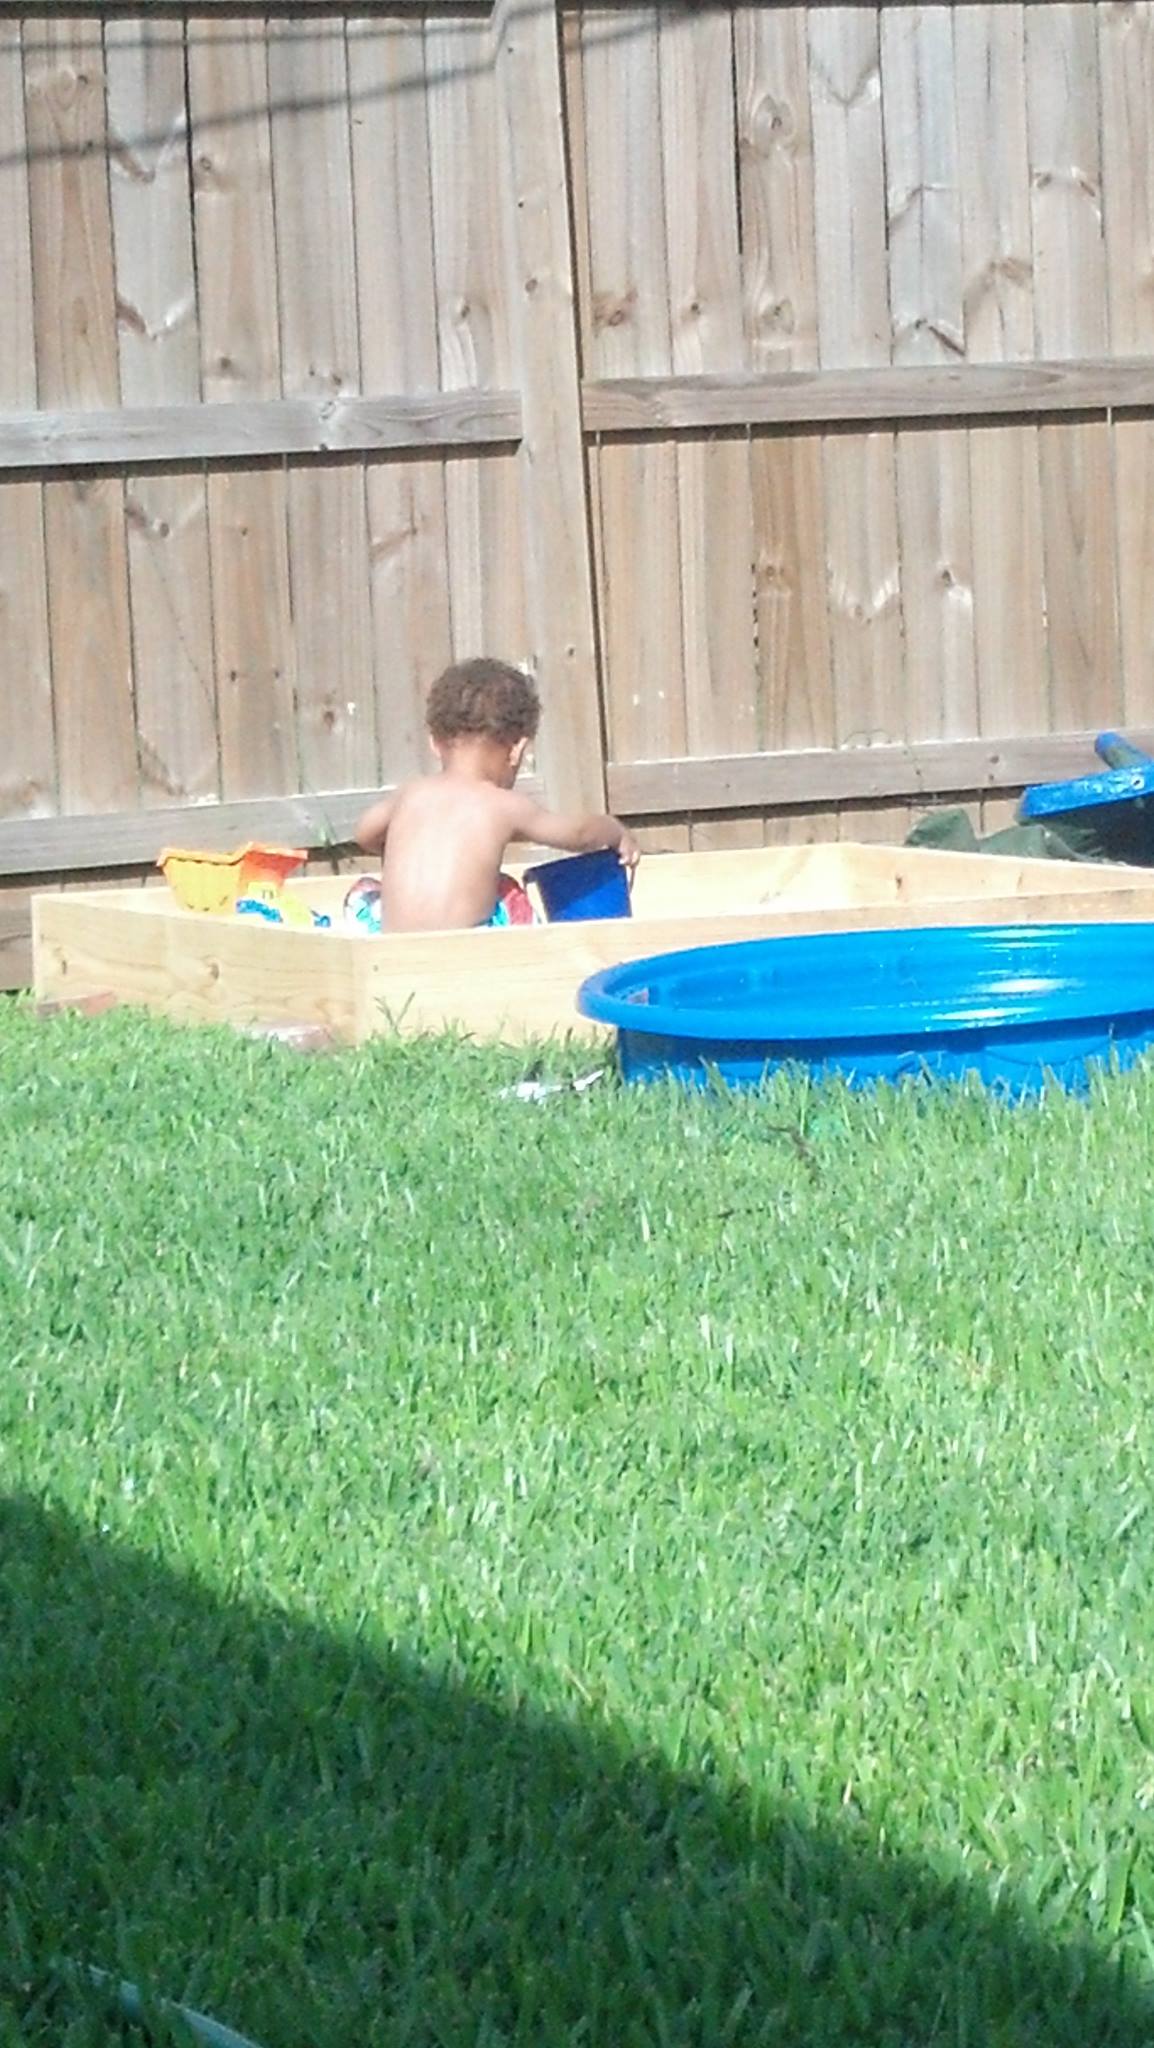
You can see it in the background

Obviously this idea can be transformed into any size, it could be partially dug into the ground or benches easily added but total this cost me less than $30 and my son is in love.
Enjoy!
